Finally the painting, caulking, cleaning and replacing hardware are done, well almost. We still have the shower door to put back up and then everything is back to working order. Since the items that I've been featuring in my redo are done I thought I'd go ahead and share the results.
 |
| Sink area before |
 |
| Sink area after |
 |
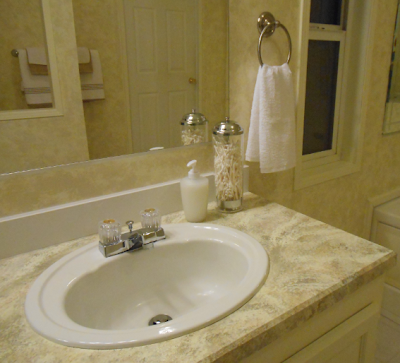
| With counter finish and new accessories |
The walls are painted and have a ragging technique done and the sink area had the faux granite finish applied. I have to say I've been really happy with the results. With all the coats of polyurethane the finish is really durable. We replaced the tile backsplash with a PVC board that Kevin cut to fit and then with caulk to fill the area between counter and walls, it frames the sink area beautifully
Kevin replaced the sink hardware as the old was past just being able to clean. I've mentioned before that we are on a well and with the hard water it can really take a toll on finishes. I went through several pumice stones getting sinks, shower, tub and toilet totally free of hard water deposits. The effort was really worth the results though.
 |
| Kevin replacing faucets |
 |
| Kevin's sink area |
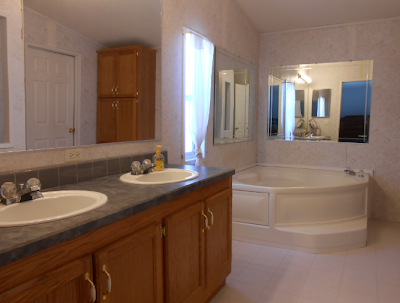
The tall linen closet was finished and only needed a couple coats of poly when I realized my plan to not use any hardware wouldn't work on these as the cabinet doors were seated so close together you couldn't really open them without some hardware. So I picked up some at Lowes that did the trick and truthfully I think I like the look better.
 |
| Tub and linen cabinet before |
 |
| Tub and linen cabinet after |
We added new towel bars and a few accessories to the sink area to complete the look and make things really functional. The whole room seems brighter to us. It's amazing how you can live with things and just not notice how dingy they are until you take the time to make a change.
 |
| Before |
 |
| After |
 |
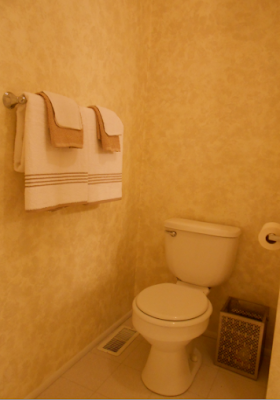
| Toilet area after - no before picture |
Now that this is done it's on to the next ones on my list. Just need to figure which one that will be : )

This looks so good! Good job Mom!
ReplyDeleteThanks, actually had fun doing it despite sore shoulders from all the painting : )
DeleteYou've always enjoyed those projects, the outcomes are always great! I'm curious to see what you do next!
DeleteHi Lynda,
ReplyDeleteWhat a gorgeous redo. I just love it and the soft color of the cabinets and walls is stunning. I know too well the work involved. You and your hubby did an amazing job. What is next on your list? I have an ongoing list too and just when I finish it, I start a new one. LOL
Thank you for stopping by and your kind comment. I so enjoyed my visit to your lovely blog.
Have a great week and happy creating.
Hugs, Celestina Marie
Celestina,
DeleteThank you for stopping by. After finishing this project, today was the first chance in awhile to really kick up my feet and look at some blogs. When I saw the "blog party" at Desert Cottage thought I'd look through for inspiration. I LOVE the little clock redo you did and was thrilled to find a paint that would effectively adhere to plastic. Your work is very inspirational and I enjoyed stopping by and finding out about your creativity. Have added to my favorites and will be back : )
What a wonderful transformation! I love the counter which looks very realistic in the photos. Great job, Lynda!
ReplyDeleteThanks Guerrina, I'm really pleased with it. I had planned to buy a sink and cabinet combo for the kids bathroom, but after doing this one think I'll do a repeat performance! To add to the depth of the counter I used a clear acrylic spray and lightly added a very fine black glitter and clear glitter to give a slight effect of mica that might be found in stone. Didn't show up in my pictures so I didn't talk about it in my descriptions.
DeleteWow!! That's quite a transformation! Great job!!! :)
ReplyDeleteThank you. We're loving it and so it's inspired a change in plans for how we are doing the kids bathroom currently.
ReplyDelete